
I always have a sourdough starter going in either on the counter or stored in the fridge, so I can make any sourdough recipe at any time. My sourdough starter has been going and very active for a while now. It has established its own unique flavor profile. This flavor profile varies from home to home because of the wild yeast in the air in your particular area or home. If you are interested in making your own sourdough starter then please check out my “Sourdough Starter” recipe here on my blog. It will give you the ins and outs of all things sourdough starter.
This recipe I use calls for a scale. So if you do not have one you can easily pick one up at your local Walmart or online. They are fairly cheap and work really well. I use a scale because the flour to water to sourdough starter needs to be as close as possible so you get a hydrated dough. I hydrated dough will give you the airy bubbles that sourdough is well known for and unlike the artisan-style sourdough breads these recipes that you make at home will have a more compact bubble in the bread than the artisan style. Once you get the style and form down I am sure you can master the airy bubbles in the bread.
I also use a cast iron Dutch oven to bake all of my sourdough round loaves. I find the oven spring so much better using a Dutch oven. However, You can certainly use a sheet pan. All you have to do is spray the bread directly with a few spritzes of water and quickly add it to the oven. Wait 5 minutes and spray the walls of the oven really well for the first 15 minutes. leave the door shut until the bread has risen and is golden brown and cooked through. I will have more sourdough info at the bottom of this page.
INGREDIENTS:
FOR 1 LOAF:
475 Grams of flour ( you can mix and match your flour- more info at the bottom)
100 Grams of active sourdough starter
325 Grams room temp water unchlorinated ( more info at the bottom)
10 Grams Of kosher salt
DIRECTIONS:
- Before you begin: (7 a.m) 4 to 12 hours before you start, feed your sourdough starter. Discard or use some of the sourdough starter before feeding. Feed the sourdough starter and cover it with a tea towel and leave it on the counter to feed and rise. Once it has doubled in size and is active, then you can start your bread-making.
- Let’s begin: (11 a.m)Now that your sourdough is active and bubbly.
- Add your flour and water to a large bowl and mix them together. Cover with a tea towel and let rest for 30 minutes. You can also skip this step. This is called an autolyze. This helps to hydrate the water before adding the remaining ingredients. If you skip this step just mix everything together.
- Once your flour and water mixture has rested for 30 minutes you can add in the sourdough starter and the salt. Using clean hands mix the dough together to form a loose dough. This should take about 5 minutes. Cover with a tea towel and let rest for another 30 minutes to incorporate the sourdough and salt into the mixture.
- After the last rest, you are going to start doing your first round of stretch and folds. Using wet hands gently grab one side of the dough and pull gently upward and then lay that piece over the dough on the other side. Repeat this 4 to 5 times. Cover and let rest for 15 minutes before doing this 2 more times.
- After you have completed the first set of stretch and folds you can move on to the second half of the stretch and folds. Repeat the same process of stretch and folds but this time covering and letting it rest for 30 minutes before repeating 2 more times. A total of 3 – 15 minutes and 3 – 30 minutes of stretch and folds and rests.
- After you complete the very last stretch and fold cover the bowl with plastic wrap and place it in a warm area to ferment and double in size. I keep mine in the oven with the light on and the oven off. Just remember DO NOT CUT THE STOVE ON. leave yourself a note on the oven as a reminder.
- ( about 10 p.m)Once it has doubled in size (typically about 6 or so hours) you can shape the dough. Turn the dough out onto the countertop and shape the dough into a ball tucking the sides underneath the dough bottom.
- Flour your banneton basket OR you can use a small wicker basket and a linen tea towel. Place the tea towel in the basket and make sure to flour it really well to prevent the dough from sticking. Add the sourdough dough seam side up and the top side on the bottom. Basically, just flip it over so the bottom is now the top and the top is now the bottom. Flour the top of the dough to prevent sticking. Cover the dough with the tea towel and place it in a plastic bag. Tie the bag and chill overnight in the fridge.
- The next day (any time you are ready to bake the bread) Preheat the oven to 500* and place your Dutch oven and lid in the oven to get extremely hot. Be careful and use oven mitts so you do not burn yourself. Let the Dutch oven get hot for about 45 to 60 minutes.
- In the meantime remove the sourdough from the ridge and remove it from the plastic bag. Lay out a large piece of parchment paper and turn the dough onto the parchment paper in the center. Using a razor blade cut a slice down the bread at a 45-degree angle anywhere on the bread. I typically do this on the right side about 2 inches from the side of the dough. This will create the “ear” of the bread. Now you can cut in any decorations you like. I usually just do wheat stalks. Any shape you like will do just fine. A heart, A cross-hatch, a cross, A square, wheat stalks or if you feel like getting fancy you can try your hand at much harder decor shapes.
- Once the design is complete and the Dutch oven is hot, Remove the pan from the oven and remove the lid. Carefully add the parchment and sourdough to the pan. Replace the lid and bake for about 20 minutes covered.
- Reduce the heat to 475* and remove the lid and place it on the oven rack directly under the Dutch oven to catch any excess heat and prevent the bottom of your bread from getting way too dark. Bake for another 15 to 20 minutes or until golden brown and cooked through.
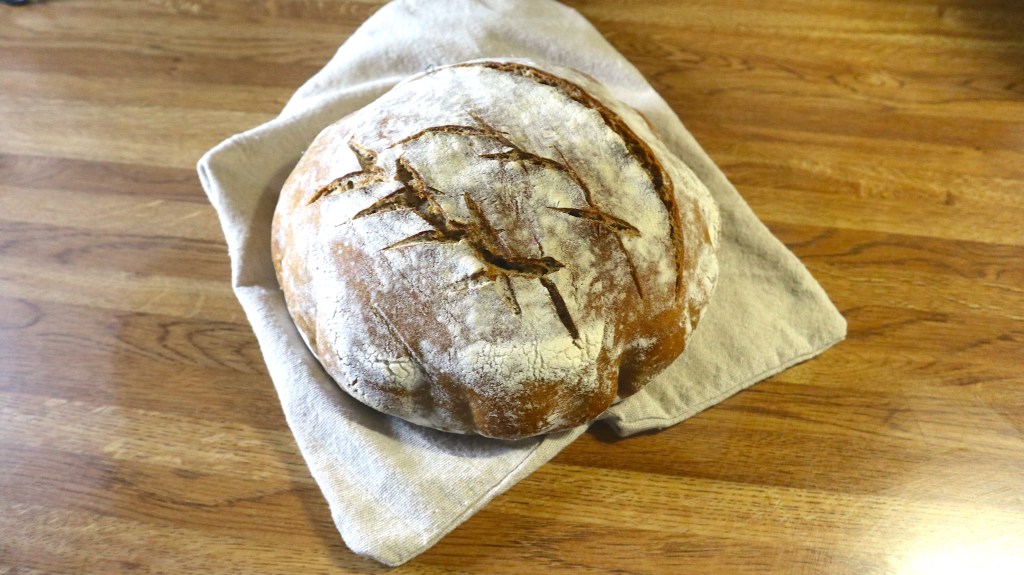
- Remove from the oven and remove from the Dutch oven to a wire rack. This is optional but you can cover it with a linen tea towel to keep the crust slightly softer and less crisp. I love doing this because I love the texture of the crust when I do this step. Let it cool completely before storing. I store mine in a bread sack in a bread box. This bread typically lasts about a week in the bag and bread box.
- You can add any flavors you like to this dough. Herbs, cheddar cheese, plain, you can make it sweet or chocolate. It is a very versatile dough.
- You can also mix and match your flour. I sometimes add wheat flour, einkorn flour, or just simply use all all-purpose flour.
- You can double this dough very easily. Here is how. 950 grams of flour, 200 grams of active sourdough starter, 650 grams of water, and 20 grams of salt. Just simply follow the above directions and then split the dough in half before placing it in the fridge overnight.
- To remove the chlorine from tap water. Simply fill up a large glass or jar with tap water and leave it on the counter uncovered overnight. the chlorine will evaporate.


One thought on “Sourdough Bread”